Point of Purchase Displays 101 | Benefits, Types, Differences
What Is a POP Display (and Why It Works)
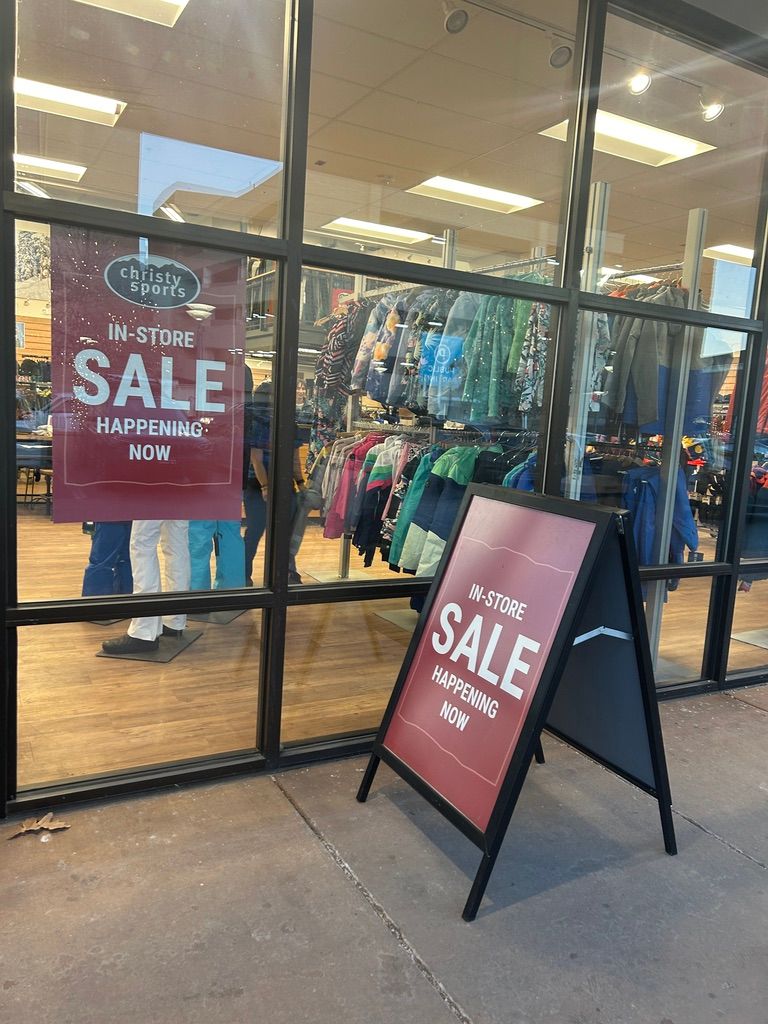
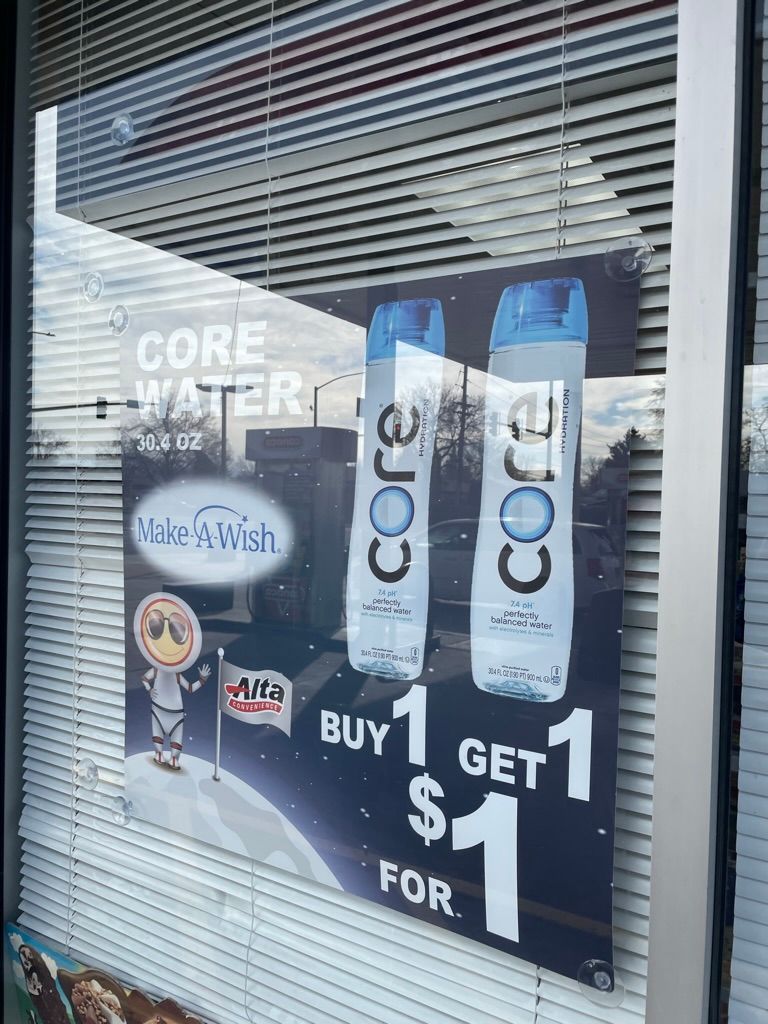
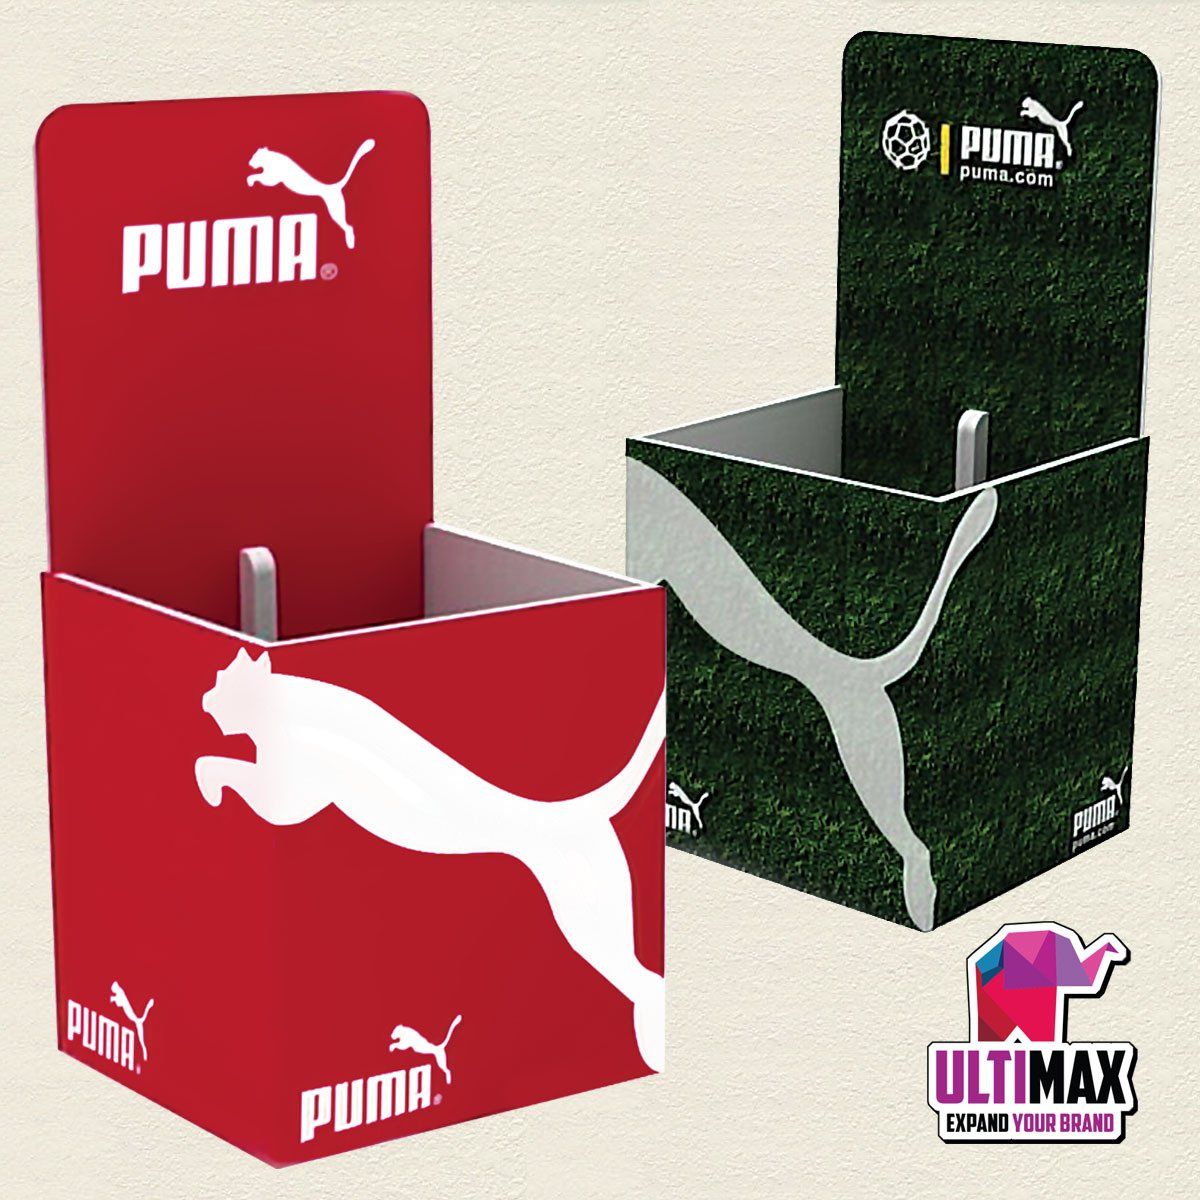
A POP display is a branded structure or graphic placed at/near the product to interrupt autopilot, clarify value, and convert. It can live at aisle ends, on counters, or freestanding in traffic lanes. The best POP displays are easy to ship, quick to install, and built from the right material for the campaign length and store environment.
Why does it work? It meets the shopper at the moment of decision with clear visuals, a simple message, and a friction‑free path to pick‑up. Your POP page emphasizes this with a stat: a large share of customer buying decisions happen in‑store. Another reason execution at the shelf matters.
Field‑Proven POP Types (What We Build)
End Cap Displays
High‑visibility, aisle‑end units designed to stop traffic and push featured SKUs or bundles. We tailor the structure and graphic system to your category and promo plan.
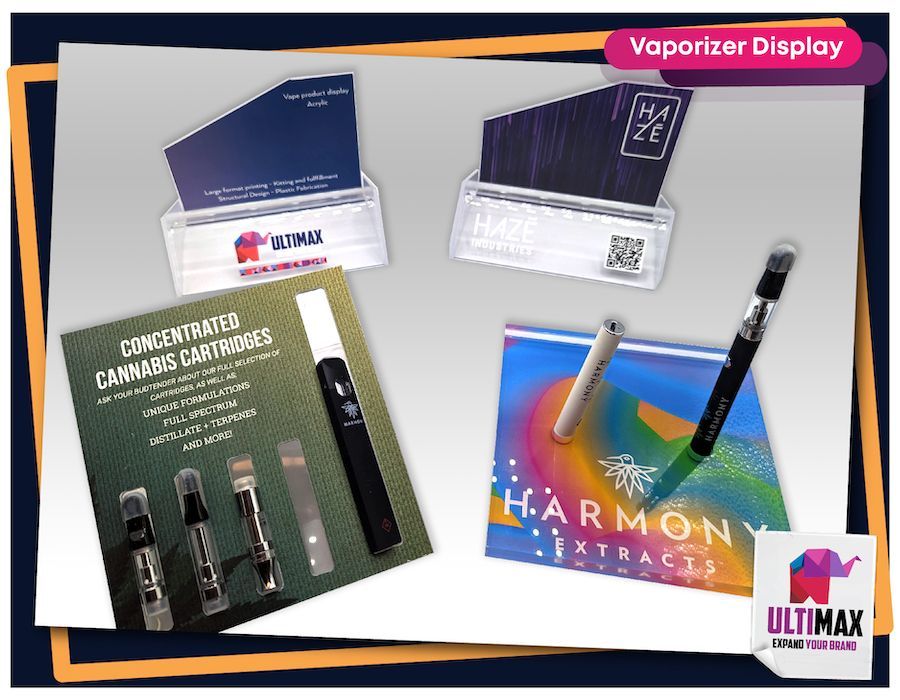
Counter Displays
Small footprint, high impact at checkout. Built in acrylic, PVC, and corrugated to install fast and look on‑brand under hard store lighting.
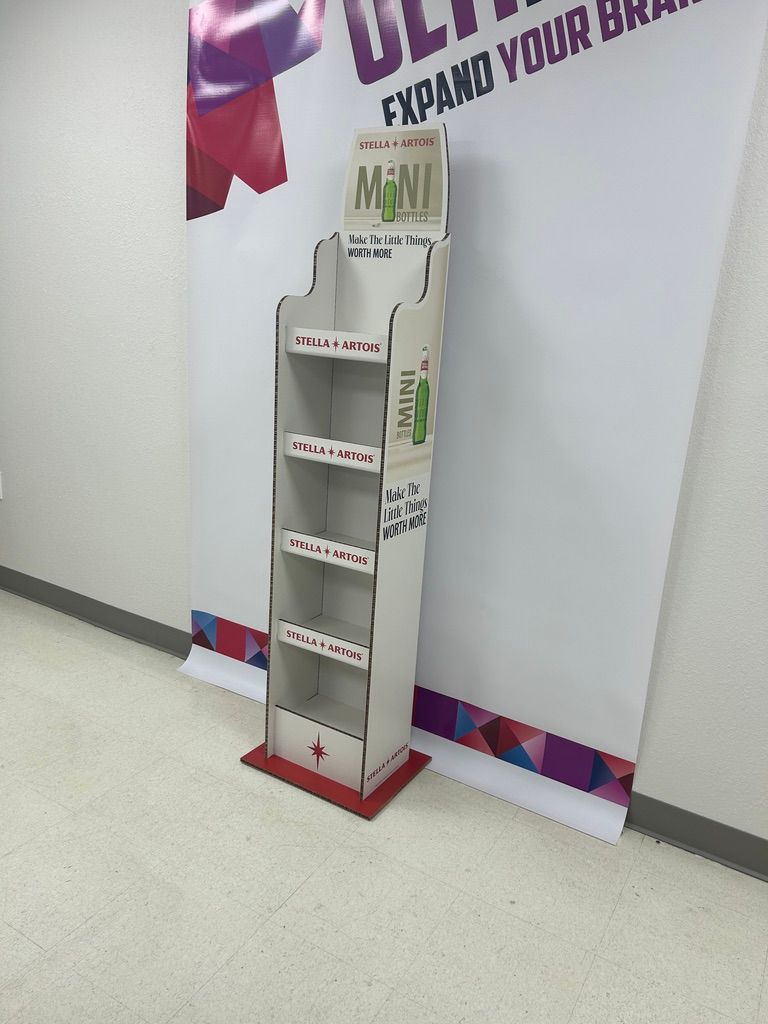
Floor Displays
Freestanding and durable for high‑traffic zones, commonly built in acrylic, corrugated, and plastic engineered for stability and consistent finish.
Semi‑Permanent Displays
Perfect for launches and seasonal pushes when you need months of life without committing to a fixture. Xanita (lightweight, eco‑minded) and Umiplast (rigid, versatile) cover most use cases.
Permanent Displays
Long‑term fixtures that stand up to cleaning cycles and heavy handling often in acrylic or Palboard for a clean, rigid finish.
Through partnerships with MICROPACK Latam/Americas and RedBox, we offer innovative, lightweight displays that are easy to assemble and practical for transport and setup. Ideal for retail and events.
Corrugated POP: Pop‑Open vs. Ready‑to‑Assemble vs. Kit
In retail, the enemy isn’t cardboard; it’s assembly time. If a display takes 20–30 minutes and three texts to the store manager, odds are it never hits the floor or looks wrong when it does. Here’s the practical breakdown:
1) Pop‑Open / No‑Assembly
- Deploys in ~3 seconds: open, lock, load product.
- Lowest field friction; highest compliance for wide rollouts.
2) Ready‑to‑Assemble (RTA)
- Tool‑less 8–12 minutes with fold‑and‑lock tabs.
- Great when you need more structure or branding than pop‑open allows.
3) Kit Assembly (Multi‑piece)
- 20–40 minutes with multiple parts and instructions.
- Necessary for complex structures, but most prone to mis‑assembly and delay.
Time & Labor—simple math:
Cost per display ≈ (install minutes ÷ 60) × labor rate.
Format
Typical Install Time
$18/hr
$25/hr
$35/hr
Pop‑open / No‑assembly
1 minute
$0.30
$0.42
$0.58
RTA corrugate
10 minutes
$3.00
$4.17
$5.83
Kit assembly
30 minutes
$9.00
$12.50
$17.50
Scale example (500 installs, $25/hr):
Pop‑open ≈ $208 total vs. RTA ≈ $2,083 vs. Kit ≈ $6,250.
That’s a $1,875–$6,042 swing you won’t see on the quote, but you will pay in the field.
Hidden costs: compliance drop‑off, missing parts, crooked shelves (brand risk), and costly revisits. If you must go to RTA, engineer it for ≤10 minutes, print step numbers on panels, color‑code parts, and add a 30‑second QR video to minimize errors.
Materials & Durability (Spec by Lifespan, Not Alphabet Soup)
A lifespan‑first approach keeps budgets honest and finish quality intact.
- Short‑Term (weeks to 1–3 months): Corrugate/cardstock (fast, flexible, recyclable).
- Semi‑Permanent (3–12 months): Xanita (lightweight, recycled‑paper core) and Umiplast (rigid, clean print).
- Permanent (1+ years): Acrylic and Palboard for rigid, polished fixtures that hold up in high traffic.
Tip: Pick the lowest‑cost material that still survives the environment and preserves your finish. Cheap that fails is expensive.
POP vs. POS (Quick Clarity)
- POP (Point of Purchase): lives by the product anywhere in the store, designed for discovery and conversion.
- POS (Point of Sale): lives at checkout, designed for impulse add‑ons and loyalty prompts.
If it changes behavior at the product, it’s POP. If it nudges at payment, it’s POS.
How to Choose the Right POP (Five Fast Questions)
If you’re having a hard time deciding on which display to go with, consider the following criteria:
- Objective: awareness, education, or conversion?
- Placement: endcap, counter, freestanding in a traffic lane?
- Lifespan: short promo, seasonal semi‑permanent, or long‑term fixture?
- Assembly reality: can store staff build it correctly in under 10 minutes?
- Brand finish: will the materials and print qualify as “on‑brand,” not “close enough”?
Process: From Concept to Store (No Mystery Boxes)
Your POP page outlines a simple, supported path: Select your display → Customize → Order & Approve → Receive & Install. Our team stays with you through production and field setup so the kit looks right and arrives on time.
Quality you can prove: Ultimax is G7 Master qualified, helping keep color consistent across substrates and components.
Credibility: Brands like Anheuser‑Busch highlight responsiveness and innovation in their testimonials.
Quick Setup Checklist
Just to wrap-up, here’s a checklist of things to include in your POP brainstorming:
- Message: one idea, one benefit, one CTA.
- Graphics: bold, high‑contrast, readable at aisle distance.
- Structure: stable base, clear panel labeling, idiot‑proof instructions.
- Compliance: pricing synced with shelf; ADA‑friendly placements.
- Logistics: ships flat, arrives complete, installs in minutes.
Ready to make your vision come to life in-store? Let Ultimax
take the reins.